
The modern Seismic/Coffee\Table is coming along well. If you’ve just joined us, the earlier posts for the coffee table design and the beginning of fabrication can be reviewed for reference and catch-up. Most of the piece-by-piece cutting is complete and I’ll begin assembly of each of the coffee table segments, then show a few images from the finishing process.
Here’s where this is all headed:

Now back out to the shop. Hearing protection – check. Dust mask – check.

9 Attaching the leg panels to the top assembly. The fasteners will be covered over by the walnut veneer I’ll add so the exterior of the pieces is completely veneered.

10 Attaching the walnut veneer to the tops. My limiting factor during this stage is clamp quantity. After these two in the foreground cure, I’ll move the clamps to the 3rd and 4th pieces and repeat.

11. I’ve moved on to attaching the walnut veneer to the end panels. I have three panels being glued up in this image, and it will take a few hours for the glue to set up so I can attach the remaining three. I’m using a two-ply wood-on-wood veneer which works great for flat surfaces. It has one ply of walnut (the face veneer) and a second backing ply of a quick-growth economical wood. If I were bending the veneer in a moderate to tight radius, I would have opted for a paper backing which is much more flexible.

12. With all the glue cured, I am sanding everything smooth with progressively finer sandpaper, ending up at a 280-grit finish. As the walnut veneer is fairly thin I’m doing a lot of the sanding by hand so I can precisely manage the pressure I apply to the pieces. To answer the question “what’s up with the blue tape?” – during the sanding process I also inspect everything including all the joints. I found very small areas where glue didn’t quite make it to the veneer edge, so I forced a small amount of glue into the gaps to complete the bond. The painter’s tape holds it tight while the glue cures.


13. Time for the finishes! I’m applying several coats of a specific orange paint to the interior, and several coats of wood stain I custom mix and apply to the walnut veneer portions. Once everything is dry I top-coat the entire assembly with several coats of clear varnish to both protect the surfaces and create the sheen I designed the piece with.

14. Done with the Seismic/Coffee\Table and time to install in the client’s living room. I’m happy with how the modern coffee table turned out, they are ecstatic, and I’m almost ready to build another.
Like what you’ve seen and might be interested in having Fifth Dimension Design produce or design custom furnishings for you? Contact us today and find out more!
____________________________
This post was originally written before re-branding as Eckxstudio for Modern Architecture at the end of 2017.
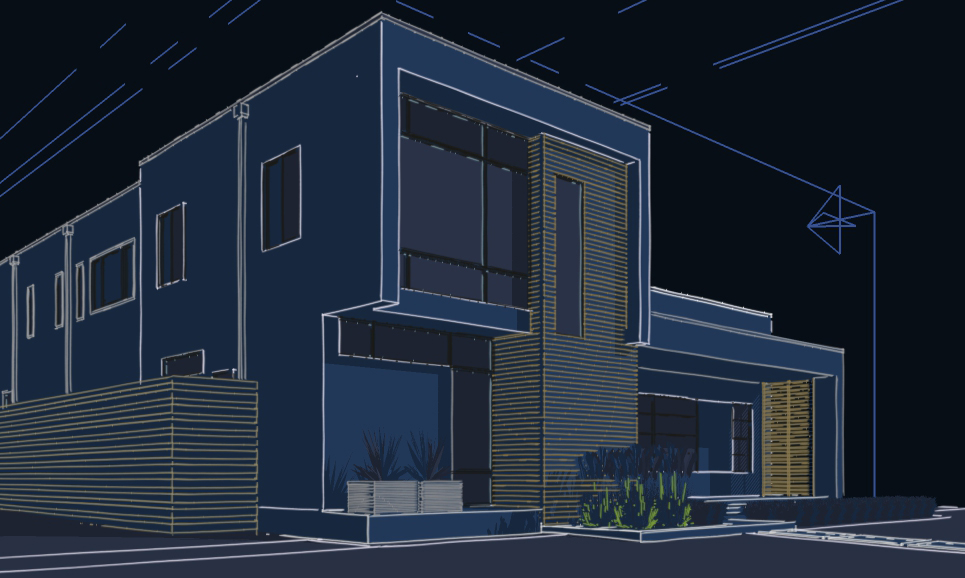
At Eckxstudio for Modern Architecture, we design unique and stunning projects, individually crafted for our clients’ lives. We’re passionate about listening to your needs, wants and desires as inspiration to design the dream home you’ll never want to leave.
![]()

![New [Modern] Design Update](https://www.eckxstudio.com/wp-content/uploads/2016/04/ribbon-house-sketch1-500x383.jpg)
![New [Modern]](https://www.eckxstudio.com/wp-content/uploads/2016/04/3815-black-white-oblique-image-800x361-500x383.jpg)
Leave A Comment